Quick start
One complete loop - design, preview, generate, flash - on the Cheap Yellow Display.
This walks through one complete loop - a screen with a slider and a readout, previewed in the browser, generated, built and flashed. It uses the ESP32-2432S028R "Cheap Yellow Display" because it is the board most people have in a drawer, but every step is the same on any preset. Budget about fifteen minutes, most of it waiting for the compiler.
You do not need an account to follow this until step 7. Designing, wiring the hardware, previewing and validating are free and unlimited without signing in; your work autosaves in the browser. Generating code is the one step that is metered - five times without an account, fifteen a month with a free one.
1. Open the designer
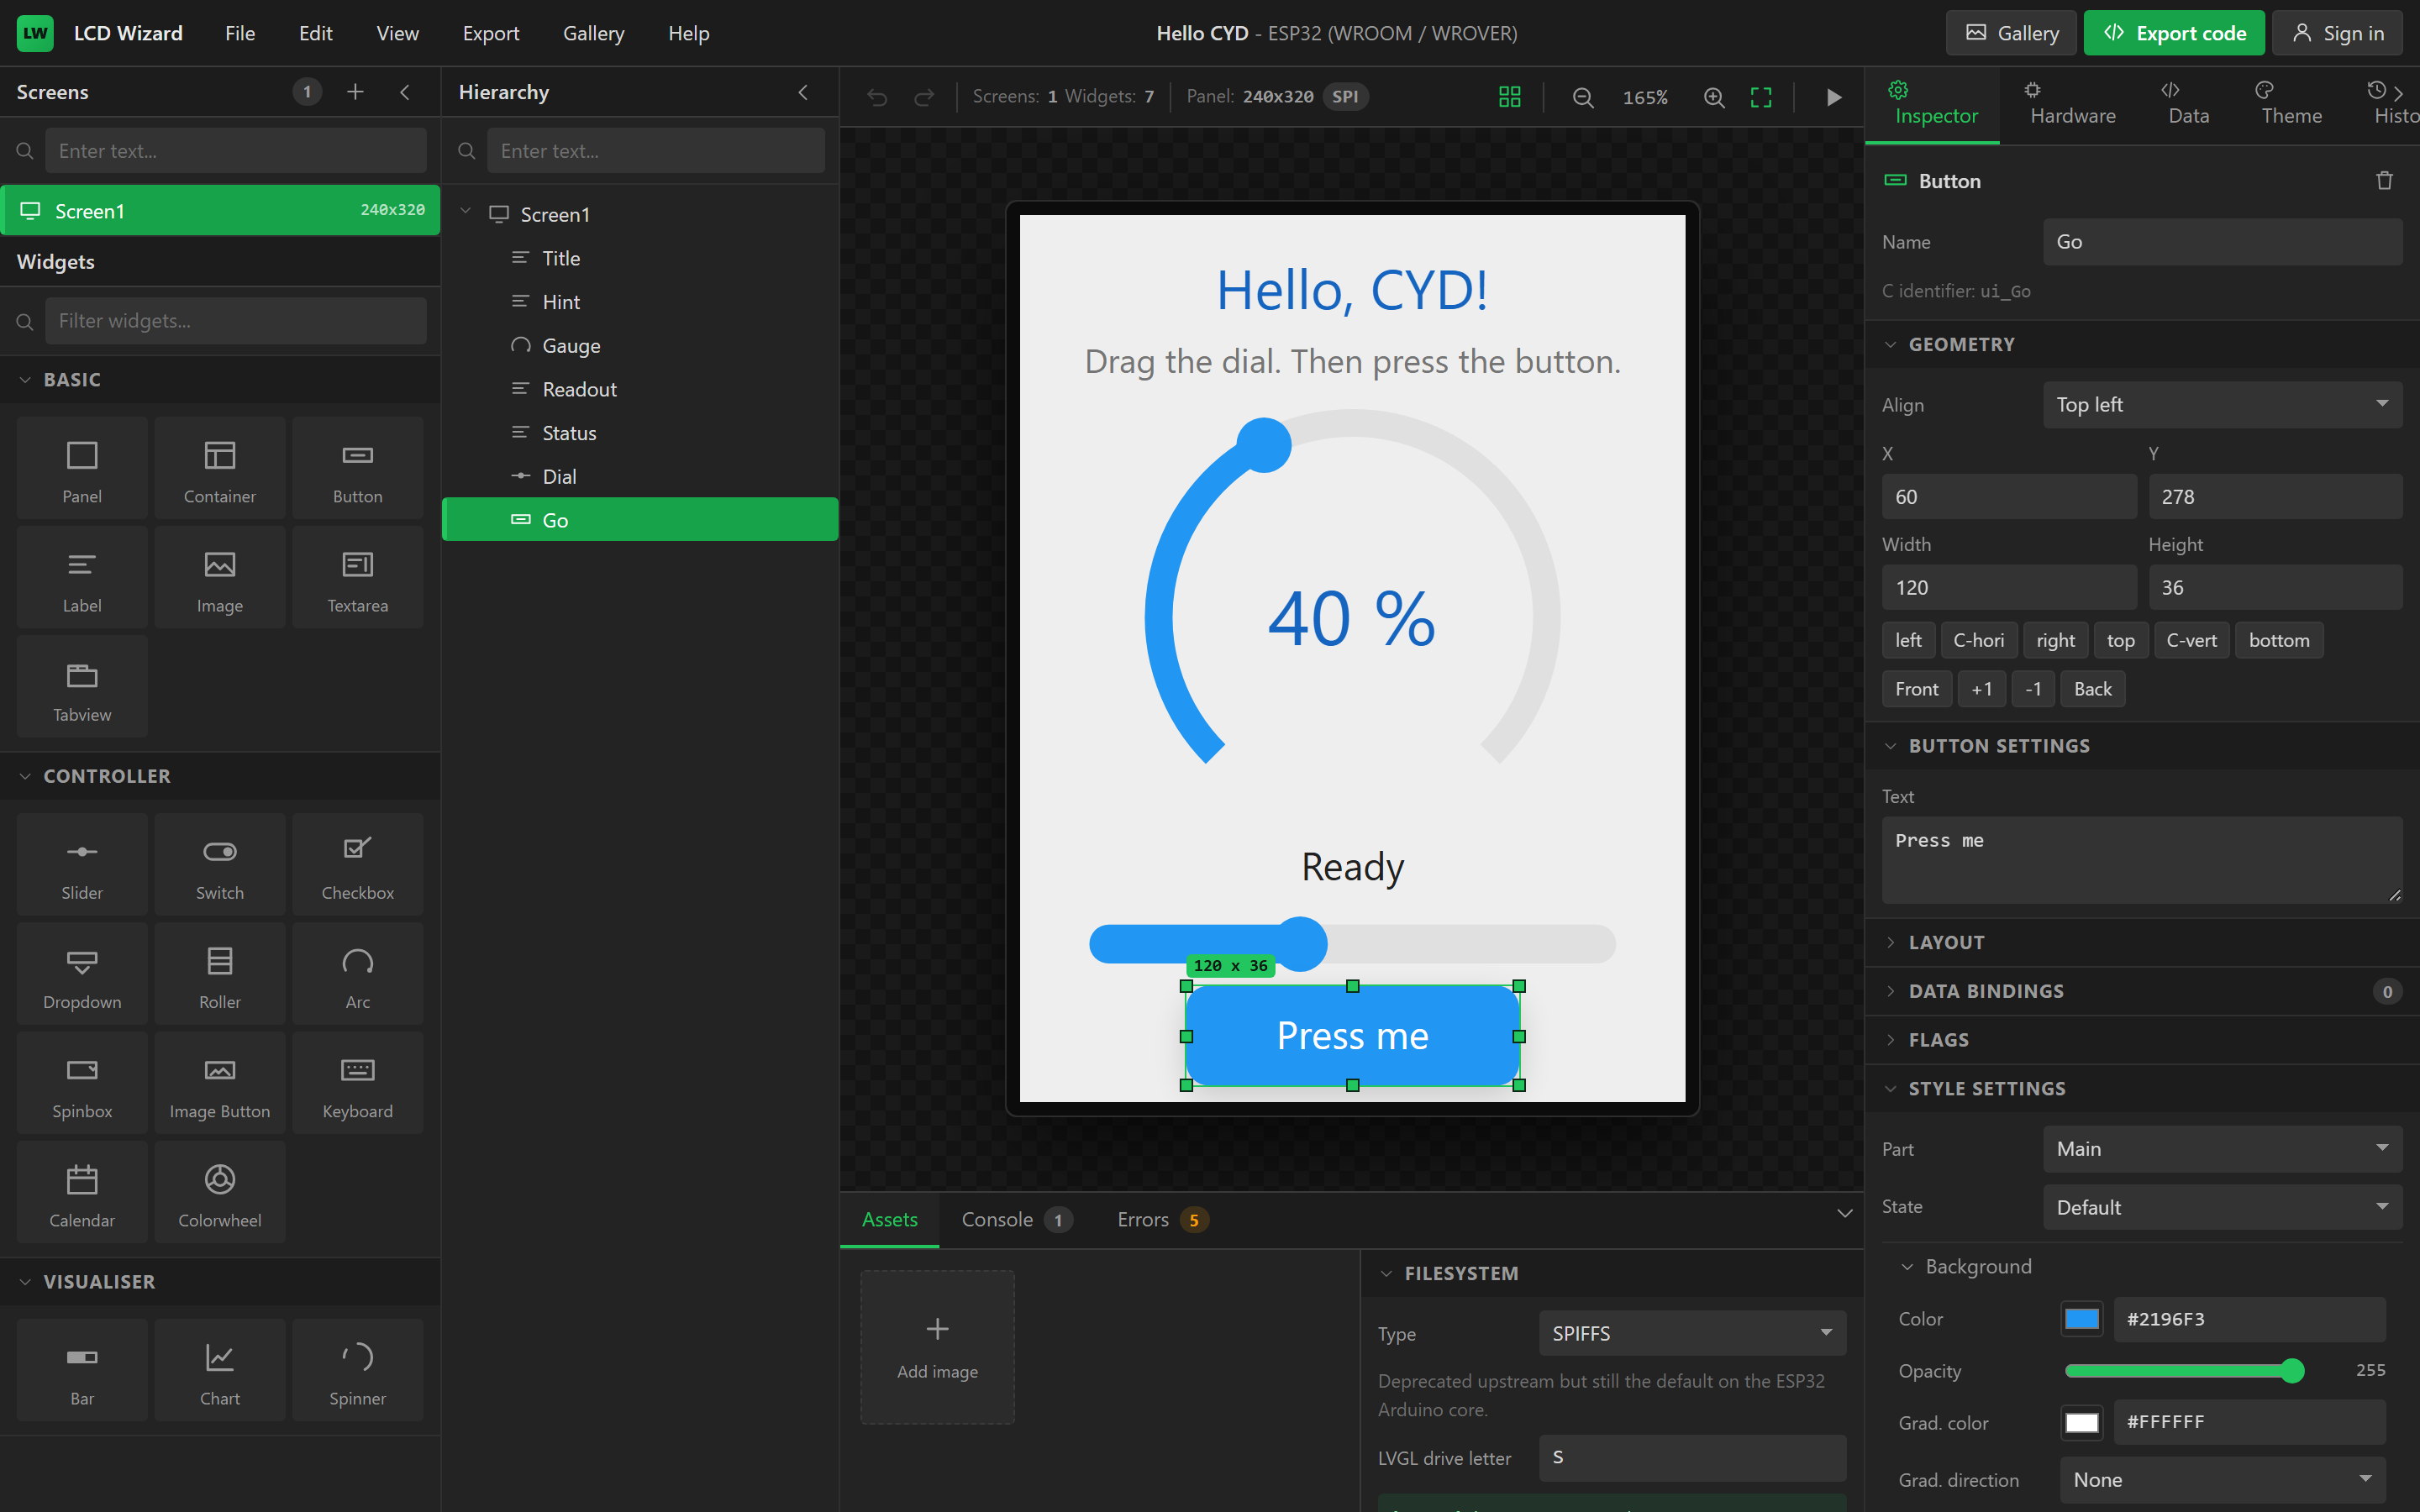
Go to app.lcdwizard.com. It opens on a starter project called Hello CYD: one screen, a title, a bar, an arc and a button, already targeted at the Cheap Yellow Display. You can keep it as a scaffold or start clean with File > New project.
2. Choose the board
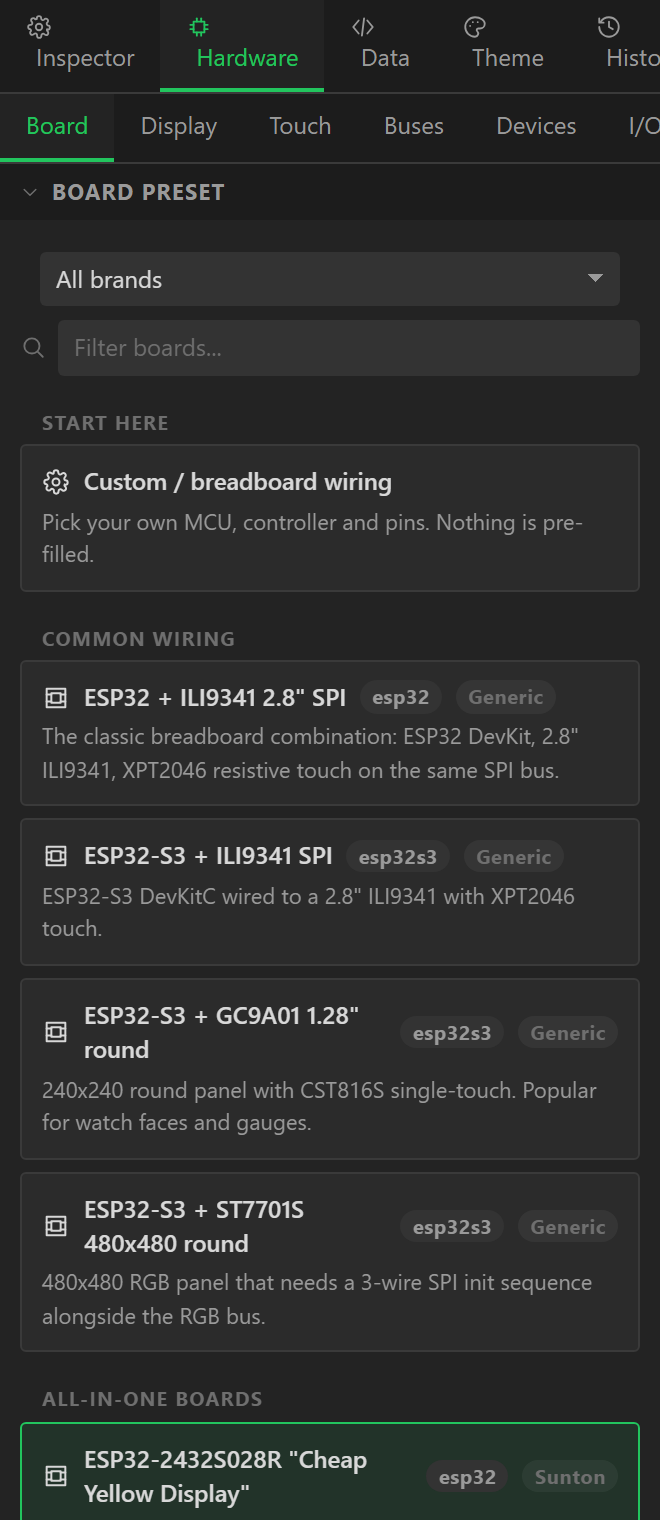
Open the Hardware tab on the right and stay on Board. Pick a preset from the list - they are grouped by brand and each carries a one-line verify note, because vendor pinouts change between revisions of the same board. Choosing a preset fills in the MCU, the panel controller, the bus and every pin, the touch controller, the graphics library and the backlight. Anything you have already added on the Buses, Devices, I/O and Data tabs is kept: those belong to you, not to the board.
If your hardware is not listed, choose Custom / breadboard wiring and fill in Display and Touch by hand. Boards and displays explains every field.
3. Put widgets on the screen
The Widgets panel on the left lists everything you can add, in three groups: Basic, Controller and Visualiser. Click one to drop it in the middle of the current screen, or drag it to where you want it. Add a Slider and a Label.
With the label selected, the Inspector on the right shows its settings. Change
Text to Level. Give the slider a sensible name in the Name field at
the top - Level for the slider and Readout for the label. Names become C
identifiers (ui_Level, ui_Readout), so keep them to letters, digits and
underscores.
Drag to move, drag the handles to resize, and use the arrow keys to nudge. The canvas snaps to a grid and shows alignment guides against siblings and the parent; hold Alt to drag freely.
4. Connect them with a variable
A variable is a value the firmware holds and updates. Open the Data tab on the right and
click Add variable. Name it level, leave the type as Float and the
source as (set by events only) - it will be written by the slider rather than read from a
sensor.
Now bind both widgets to it. Select the slider, scroll the Inspector to Data bindings,
add one, and set Variable to level, Drives to Value and
Direction to Widget → variable. Select the label, add a binding to the same
variable with Drives set to Text, and put %.0f in Format
and % in Postfix.
That is the whole data path: the slider writes level, the label formats it.
Variables and bindings covers reading real sensors into the same
mechanism.
5. Preview it
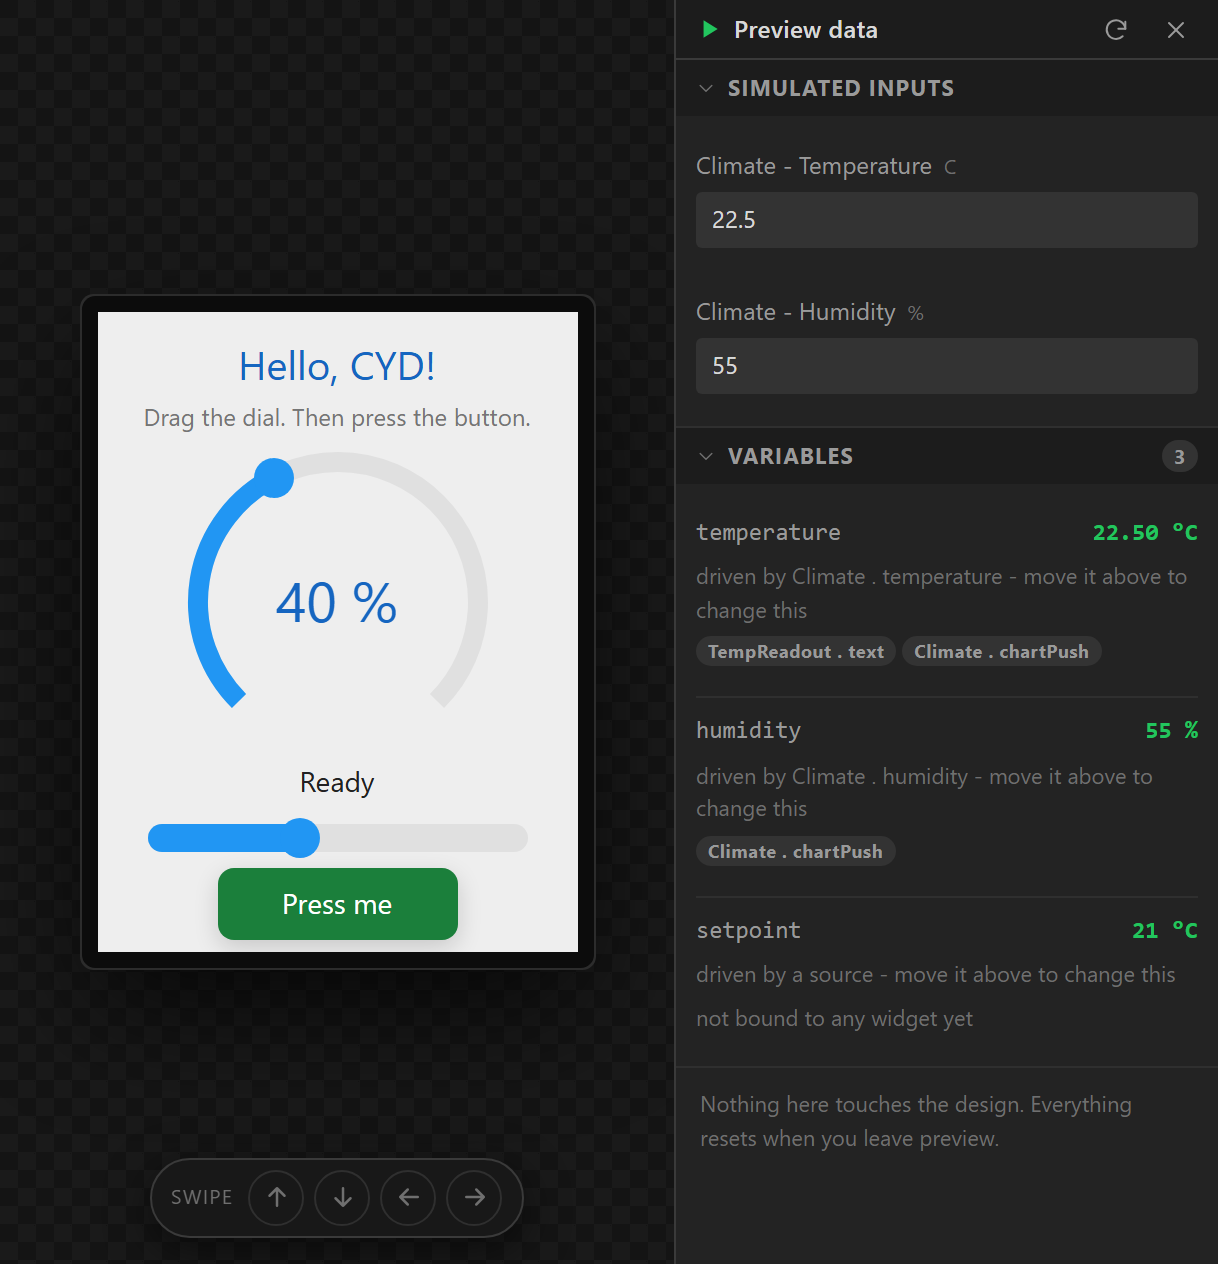
Press Play in the toolbar. The canvas becomes operable: drag the slider and the label follows, formatted exactly as it will be on the device. A drawer opens on the right showing every variable's live value, and - once you have sensors - a slider for each simulated reading. Press Play again to leave preview; nothing you did while previewing touches the design.
6. Check it
The Check tab under Hardware and the Errors tab at the bottom both show the same live validation: duplicate pins, strapping-pin warnings, a chart with no series, a binding to a variable you deleted. Warnings are advice; errors block export. A fresh Cheap Yellow Display project shows a handful of strapping-pin warnings, which are correct and can be ignored - the board really is wired that way.
7. Generate the code
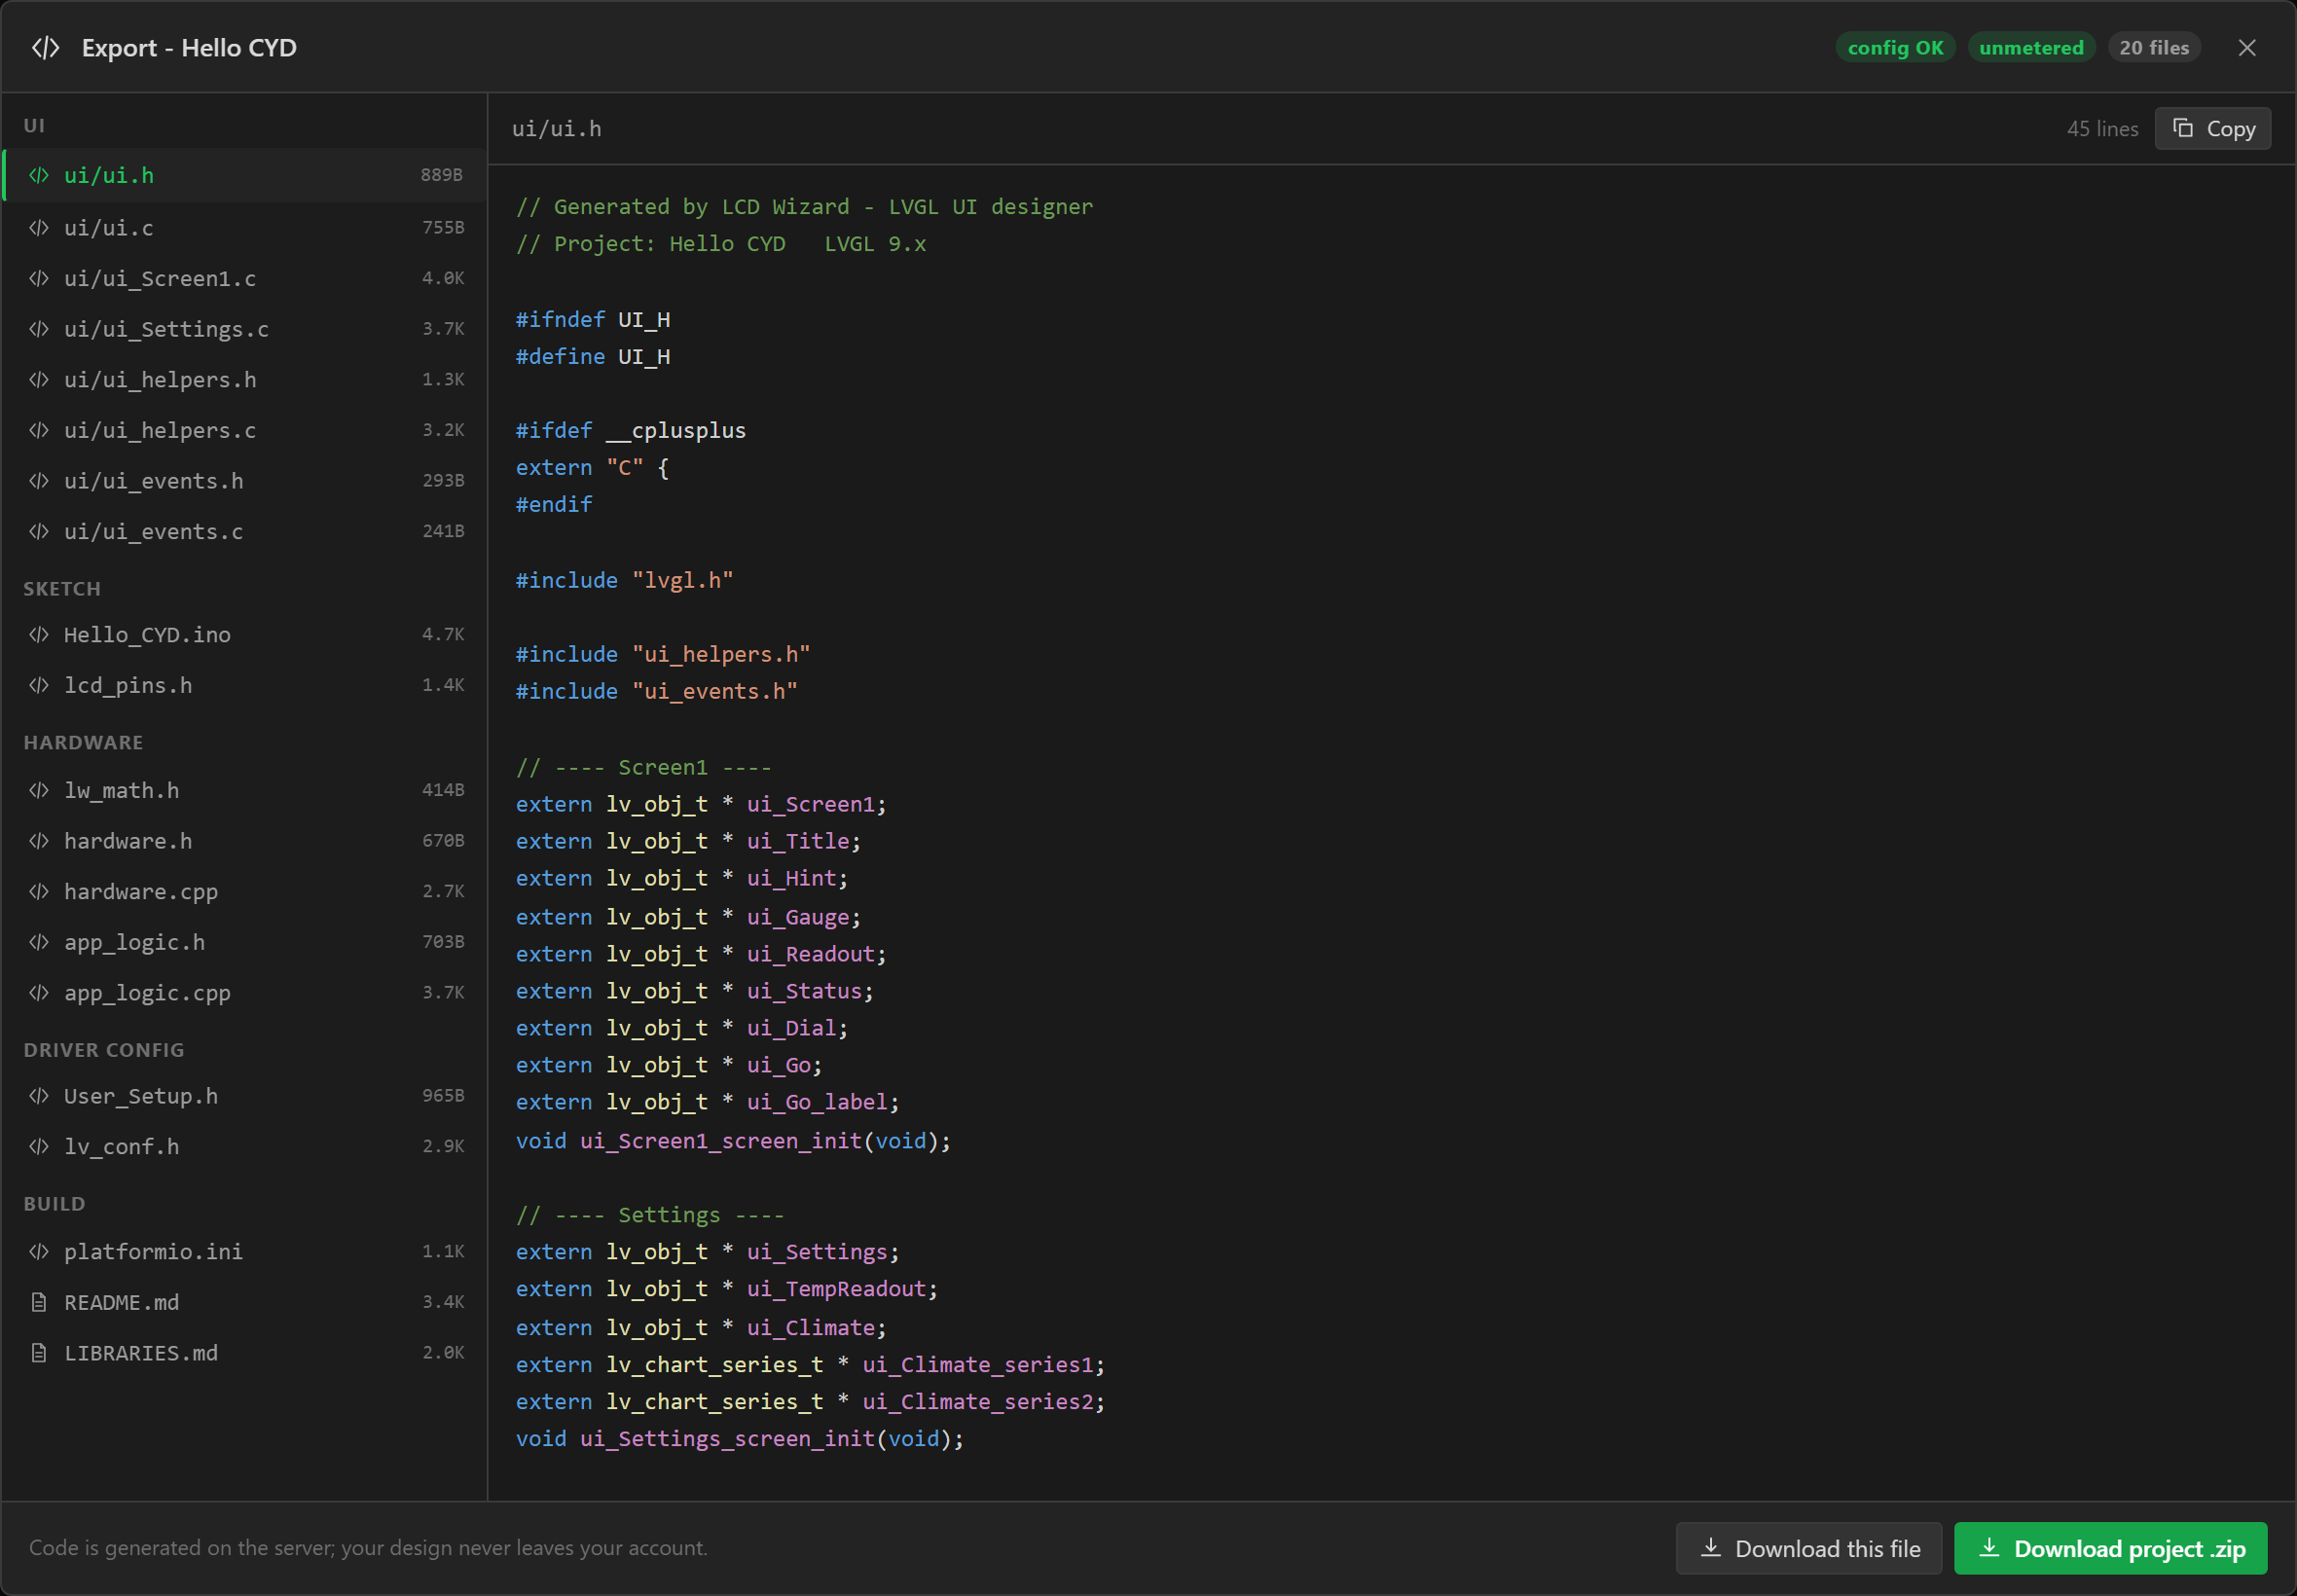
Open Export > Export UI code (or Ctrl+E). The dialog re-validates the project and, if nothing is wrong, offers Generate code. This is the step that asks you to sign in if you have used your guest allowance. When it finishes you get the file list on the left and a preview of each file on the right, with Download project .zip above them. Download it and unzip it somewhere you can find again.
8. Build and flash
Inside the zip is a folder named after your project. Two routes:
PlatformIO. Open the folder in VS Code with the PlatformIO extension, plug the board in, and run:
pio run -t uploadplatformio.ini already names the board, the libraries and the build flags, so the
first build fetches everything it needs.
Arduino IDE. Install the libraries listed in LIBRARIES.md from the Library
Manager, copy lv_conf.h next to the lvgl folder in your
libraries/ directory, copy User_Setup.h over the one inside
libraries/TFT_eSPI/, open the .ino, select the ESP32 Dev Module and
upload.
The board reboots, prints Hello CYD starting... and UI ready on the
serial monitor at 115200 baud, and shows your screen. Drag the slider on the panel and the readout
follows.
Everything that can go wrong at this step - a white screen, inverted colours, touch that misses - has a known cause, and Troubleshooting lists them.
Where to go next
- Core concepts - the vocabulary the rest of the documentation uses.
- Peripherals and I/O - add a BME280 and read real temperature into that label.
- Events and actions - make the button change screen.
- Flashing and configuration - the long version of step 8, including image assets.