Guition JC3248W535 (3.5" capacitive, ESP32-S3)
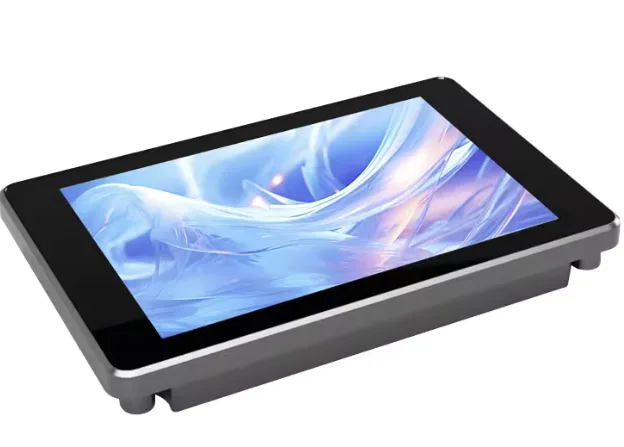
3.5" 320x480 AXS15231B over QSPI with touch in the same chip, ESP32-S3 with 16 MB flash and 8 MB PSRAM, a TF card, an I2S speaker amplifier and battery charging.
Building for it
A project is made for one toolchain, picked when you start it. All four can drive this board:
| Toolchain | |
|---|---|
| Arduino (C++) | Every board, every widget and every peripheral here. The most control, and the most to set up. Start a project |
| MicroPython | Change a screen by editing a file on the board. No compiler once it is flashed. Start a project |
| ESPHome | No compiler to install, and the panel can join Home Assistant as real entities. Start a project |
| ESP-IDF (C) | Espressif's own framework: esp_lcd, the component registry and idf.py, with nothing of Arduino in it. Start a project |
At a glance
| Part | Detail |
|---|---|
| Maker | Guition |
| MCU | ESP32-S3 Xtensa LX7 dual-core @ 240 MHz, 512 KB SRAM (+ 2-16 MB PSRAM on most modules) |
| Display | Astra AXS15231B, 320 x 480 px, QSPI (quad SPI), 16-bit colour |
| Touch | Astra AXS15231B (touch half) (capacitive, I2C) |
| Backlight | GPIO 1, dimmable (PWM) |
| Memory | 16 MB flash, 8 MB octal PSRAM (N16R8) |
| Graphics library | GFX Library for Arduino |
Display pins
AXS15231B on QSPI (quad SPI): QSPI clock 40 MHz, host SPI2_HOST, RGB colour order, inversion off.
| Signal | Pin |
|---|---|
| SCK | GPIO 47 |
| D0 - D3 | GPIO 21, 48, 40, 39 |
| CS | GPIO 45 |
| RESET | not connected |
| Backlight | GPIO 1 |
Touch pins
AXS15231B (touch half): I2C address 0x3B, 400 kHz.
| Signal | Pin |
|---|---|
| SDA | GPIO 4 |
| SCL | GPIO 8 |
| INT / IRQ | GPIO 3 |
| RESET | not connected |
Also on the board
- SDCard - SD card, CLK GPIO 12, CMD GPIO 11, D0 GPIO 13
- Battery - analog input on GPIO 5
- Boot Button - input on GPIO 0
The preset adds these to the Hardware tab with the board, so a sensor can go straight onto the connector.
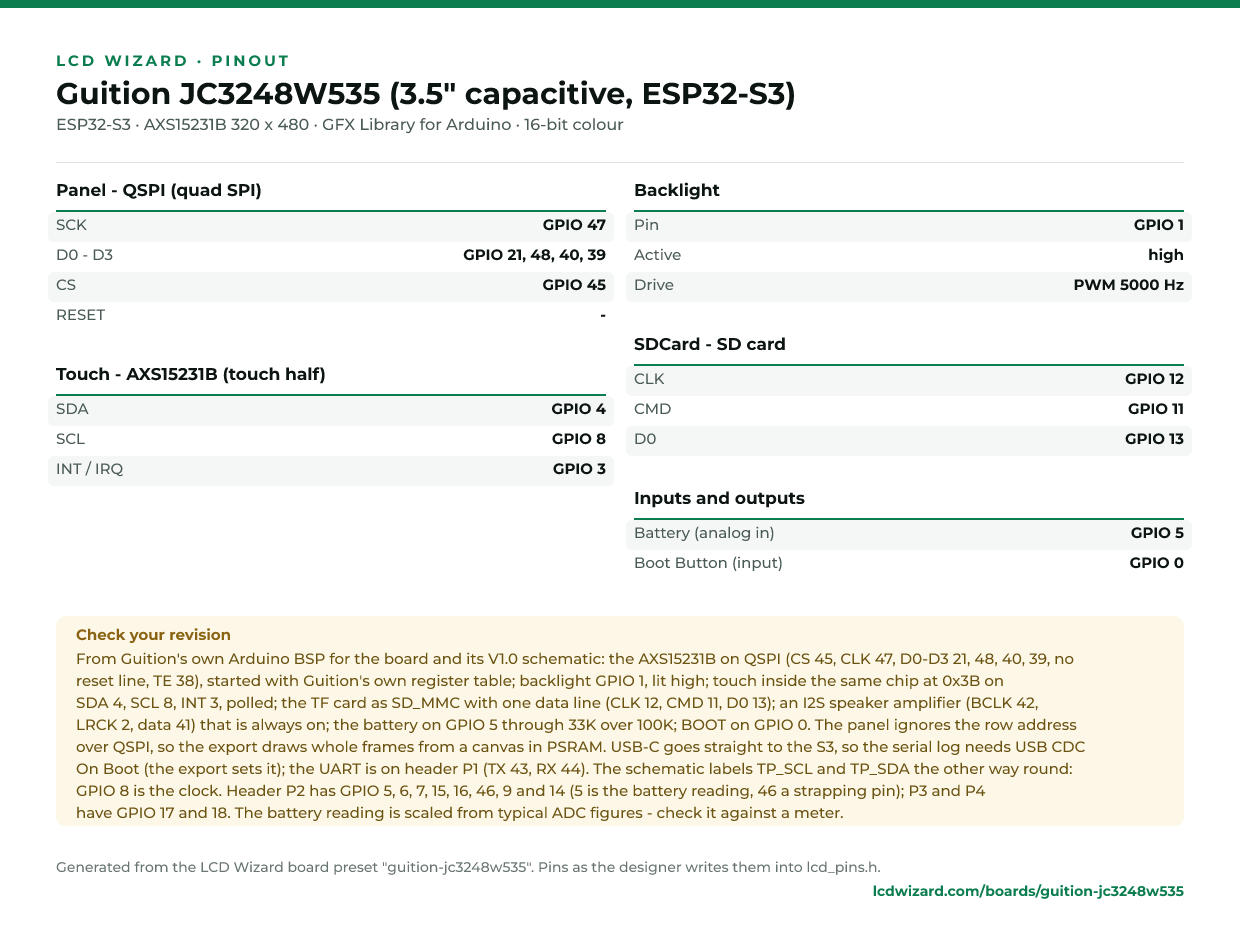
Check your revision. From Guition's own Arduino BSP for the board and its V1.0 schematic: the AXS15231B on QSPI (CS 45, CLK 47, D0-D3 21, 48, 40, 39, no reset line, TE 38), started with Guition's own register table; backlight GPIO 1, lit high; touch inside the same chip at 0x3B on SDA 4, SCL 8, INT 3, polled; the TF card as SD_MMC with one data line (CLK 12, CMD 11, D0 13); an I2S speaker amplifier (BCLK 42, LRCK 2, data 41) that is always on; the battery on GPIO 5 through 33K over 100K; BOOT on GPIO 0. The panel ignores the row address over QSPI, so the export draws whole frames from a canvas in PSRAM. USB-C goes straight to the S3, so the serial log needs USB CDC On Boot (the export sets it); the UART is on header P1 (TX 43, RX 44). The schematic labels TP_SCL and TP_SDA the other way round: GPIO 8 is the clock. Header P2 has GPIO 5, 6, 7, 15, 16, 46, 9 and 14 (5 is the battery reading, 46 a strapping pin); P3 and P4 have GPIO 17 and 18. The battery reading is scaled from typical ADC figures - check it against a meter.
Designing for it in LCD Wizard
- Choose Guition JC3248W535 (3.5" capacitive, ESP32-S3) on the Hardware tab (or use the button above) and every pin on this page is filled in. The export writes the sketch,
lcd_pins.h, the GFX Library for Arduino configuration,lv_conf.handplatformio.ini- a project that builds for this board as it comes. - The AXS15231B (touch half) is capacitive and needs no calibration. The firmware resets it and checks it answers on every boot.
- The backlight is dimmable: give a slider or a button a Set backlight action.
- With PSRAM the LVGL memory pool can live there, leaving internal RAM for everything else.
- Screens are designed for 320 x 480 px in either orientation, with LVGL 9 or LVGL 8.
The parts
AXS15231B. Combined display + capacitive touch controller. Touch shares the same part. Drawn a whole frame at a time, so it needs PSRAM.
AXS15231B (touch half). The same silicon as the AXS15231B display controller; touch is read over I2C.
ESP32-S3. The only common Arduino target with a hardware RGB565 LCD peripheral. PSRAM is effectively required for RGB panels.
GFX Library for Arduino. Moshi Liu's library. Best QSPI/AMOLED and RGB coverage. Configured in code.
The pinout on one page
Every pin above, laid out to print and keep beside the bench. Generated from this preset, so it says exactly what the designer writes into lcd_pins.h.
Download the pinout (PNG)Open it as SVG
The same pins as data - board.json and pins.csv - are in the open pinout dataset on GitHub, free to reuse under CC BY 4.0.
Designs for this board
Nobody has published a design for this board yet. Publish yours from the designer and it appears here and in the gallery.
Similar boards
 Waveshare ESP32-S3-Touch-LCD-3.5B3.5" 320x480 AXS15231B over QSPI with touch in the same chip, an ES8311 codec with a microphone and speaker output, IMU, RTC, battery charging, a TF card and a camera connector.ESP32-S3 · AXS15231B 320 x 480 · AXS15231B (touch half) touchPurchase this board
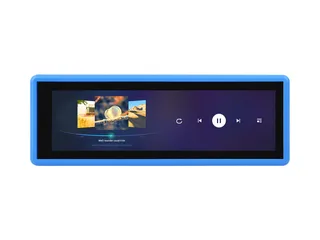 Waveshare ESP32-S3-Touch-LCD-3.493.49" 172x640 IPS LCD (AXS15231B, QSPI), AXS15231B (integrated touch) touch, ES8311 speaker and ES7210 microphones, TF card, QMI8658, PCF85063, battery sense.ESP32-S3 · AXS15231B 172 x 640 · AXS15231B (touch half) touchPurchase this board
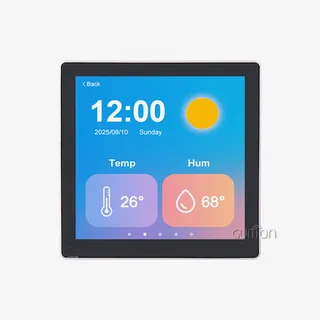 Guition ESP32-4848S040, relay version (4" 480x480)4" 480x480 square ST7701 panel with GT911 touch and three relays, sold as the "86 box" wall-plate unit.ESP32-S3 · ST7701 / ST7701S 480 x 480 · GT911 touch
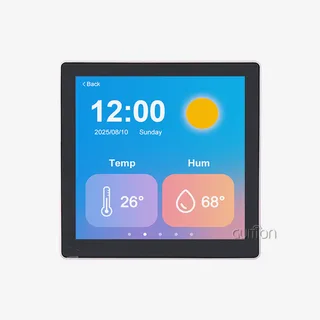 Guition ESP32-4848S040, speaker version (4" 480x480)4" 480x480 square ST7701 panel with GT911 touch and an NS4168 I2S speaker amplifier, the "86 box" wall-plate unit.ESP32-S3 · ST7701 / ST7701S 480 x 480 · GT911 touch
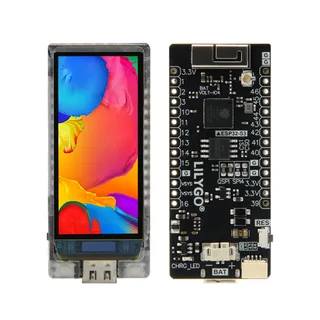 LilyGO T-Display-S3 AMOLED1.91" 240x536 RM67162 AMOLED over QSPI with CST226SE touch.ESP32-S3 · RM67162 240 x 536 · CST226SE touchPurchase this board
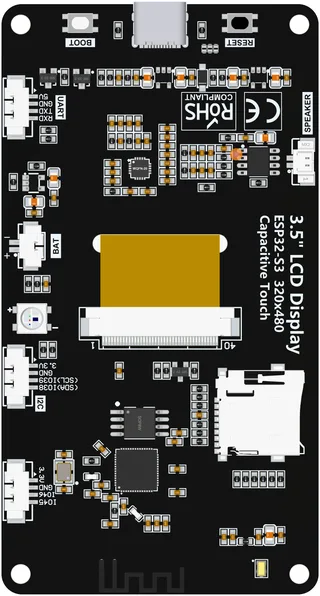 LCDWIKI 3.5" ESP32-S3 (ES3C35P)3.5" 320x480 ST77922 over QSPI with touch in the same chip, an ES8311 codec with microphone and speaker output, a WS2812 LED, a 4-bit SD slot and battery charging.ESP32-S3 · ST77922 320 x 480 · ST77922 (touch half) touchPurchase this board
Next
- Quick start - from an empty screen to firmware on the board
- Boards and displays - presets, controllers, pins and touch in the designer
- Flashing and configuration - PlatformIO, the Arduino IDE and first-boot checks
- Troubleshooting - a white screen, mirrored image or touch that misses